
How to Reduce Rework in Apartment Faucet Installation
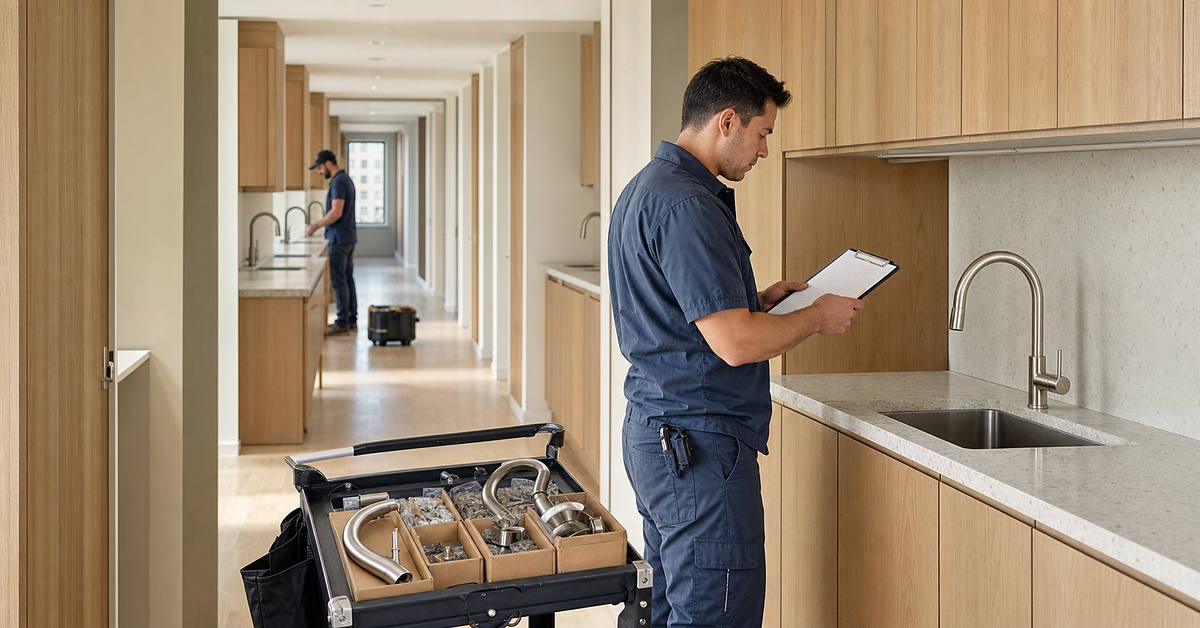
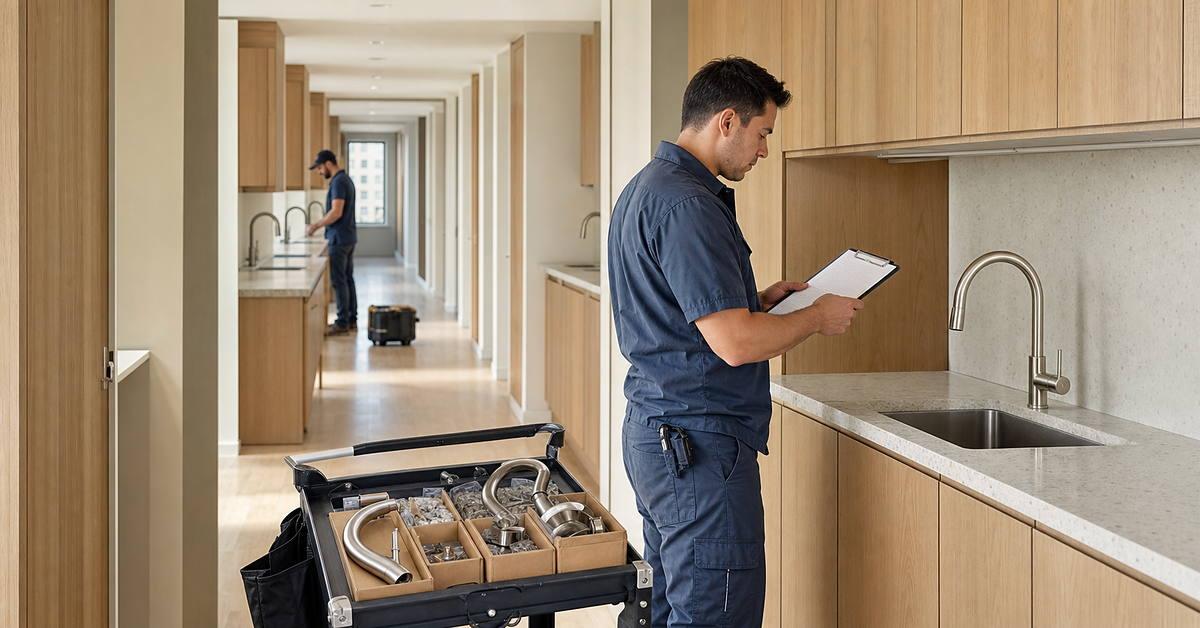
Installing one faucet is a relatively contained task. Repeating the same installation across 100, 500, or 1,000 apartment units is a process-control challenge.
A small problem—a mounting hole outside tolerance, an unsuitable deck thickness, a missing gasket, an incorrect connector, or an unclear work instruction—can become a building-wide defect. The resulting cost is not limited to plumber time. Rework may delay countertop handover, damage completed cabinets, interrupt water commissioning, and create warranty claims after residents move in.
A successful apartment faucet installation program therefore begins before products arrive on site. Developers, contractors, installers, and suppliers must agree on dimensions, mounting hardware, water connections, inspection criteria, packaging, spare parts, and change control.
Top-fixed faucets can make the primary fastening stage more accessible because their mounting systems are positioned and tightened mainly from above the deck. This can reduce dependence on wrench access around deep sinks, traps, shelving, and other cabinet components. However, top fixing does not eliminate below-deck water connections or guarantee a fixed labor-saving percentage.
This guide explains how to turn faucet selection and installation into a controlled, repeatable project process.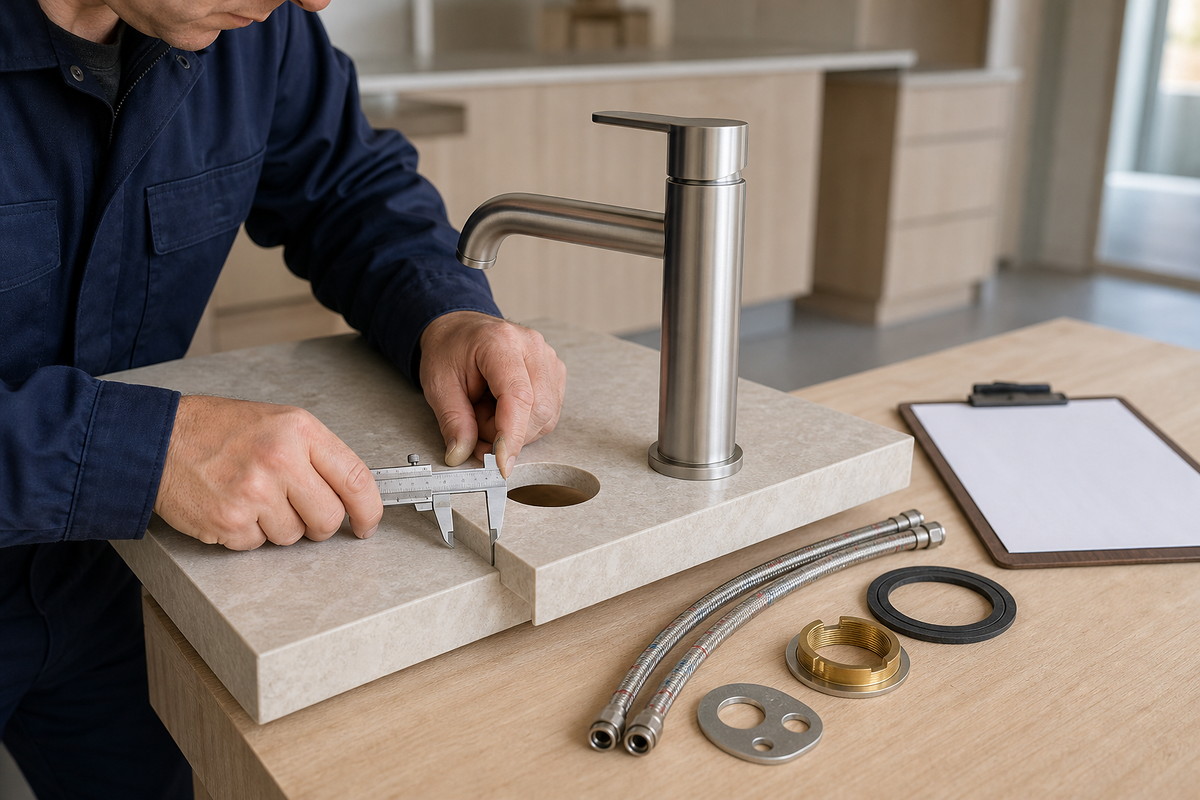
1. Why Apartment Faucet Installation Creates Rework
Apartment projects combine high repetition with limited room for variation.
The same kitchen or bathroom layout may appear in hundreds of units, but actual site conditions are rarely identical. Countertop openings can vary, cabinet components may be installed in a different sequence, and supply connections may not always be positioned exactly as shown in the design drawings.
Common sources of rework include:
- Incorrect faucet-hole diameter.
- Deck thickness outside the mounting range.
- Uneven, flexible, or damaged countertops.
- Insufficient clearance behind the faucet.
- Mounting hardware that differs from the approved sample.
- Hoses that are too short or use the wrong connection.
- Faucet bases that do not cover the deck opening.
- Drawers, traps, or disposal units interfering with hoses.
- Excessive tightening that damages a brittle countertop.
- Missing accessories, instructions, or adapters.
- Product changes introduced without project approval.
The multiplication effect is the main risk. A five-minute correction repeated in 500 units represents more than 41 labor hours before supervision, access, material handling, or follow-up inspection is considered.
The objective is not merely to install faster. It is to make each installation predictable.
2. Break the Installation Time into Measurable Stages
A headline such as “quick installation” is not enough for project planning. The complete task should be divided into measurable stages.
| Installation stage | Typical work | Main source of variation |
|---|---|---|
| Preparation | Open packaging, identify model, inspect components | Missing parts, mixed SKUs, unclear labels |
| Site verification | Check hole, deck, cabinet and supply positions | Countertop and cabinet tolerances |
| Faucet positioning | Route hoses, place gasket and align faucet | Hose congestion and base clearance |
| Primary fastening | Secure the faucet to the deck | Access, mounting design and installer familiarity |
| Water connection | Connect hot and cold supply hoses | Thread, adapter, hose length and stop position |
| Commissioning | Flush, operate and inspect for leakage | Debris, connection quality and test procedure |
| Documentation | Record result and report exceptions | Inconsistent inspection forms |
A top-fixed design primarily affects positioning, alignment, and fastening. It may make those stages easier where access below the sink is restricted.
It does not necessarily shorten old-faucet removal, supply connection, flushing, leakage inspection, or documentation. Any claimed labor benefit should therefore be measured on a representative project mock-up instead of assumed from a product description.
3. When a Top-Fixed Faucet Can Help
A top-fixed faucet uses a mounting system designed to be positioned and tightened mainly from the visible side of the countertop or sink deck.
This can be helpful when:
- A deep sink bowl blocks access to the mounting area.
- The cabinet is narrow or shallow.
- A trap, shelf, drawer, or disposal unit occupies the working space.
- Countertops are prepared off-site.
- The project uses repeated kitchen or bathroom layouts.
- Maintenance teams need a more accessible replacement process.
- Installation consistency is more important than using the lowest-cost fixing kit.
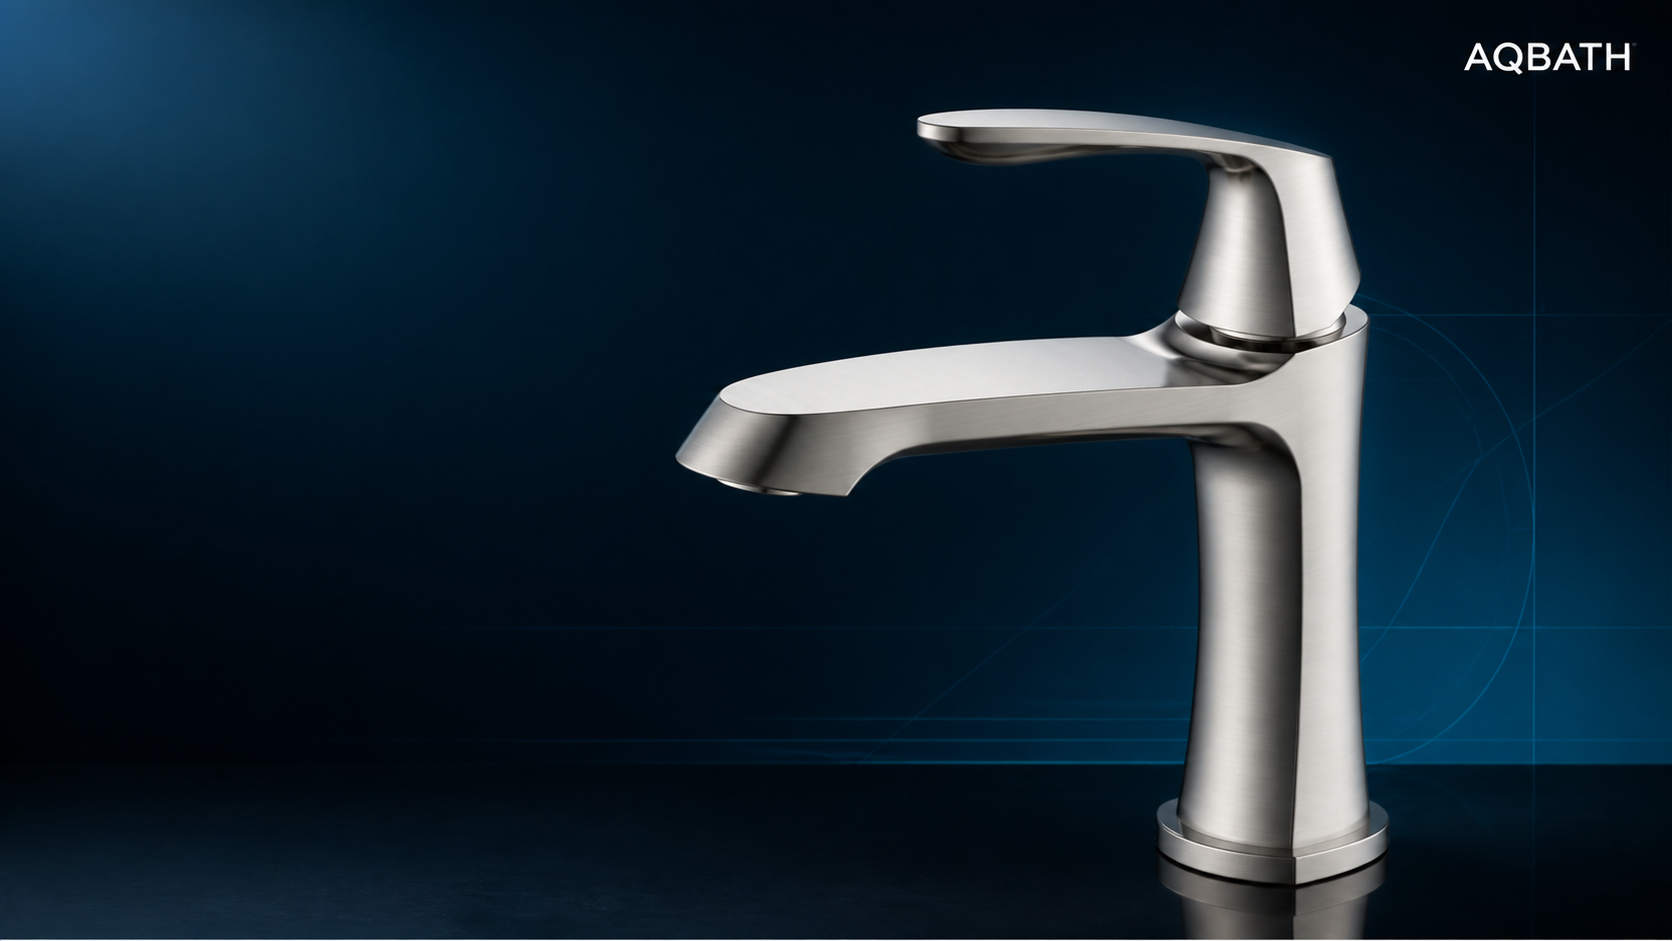
AQ Bath’s official Top Fixed Faucets category lists kitchen models A0060-1-3, A0060-1-1, A0060-1-4 and A0060-01-01, as well as basin model A0061-1. Buyers should use the category as a shortlist and obtain controlled drawings and current specifications for the selected SKU. AQ Bath’s official category page confirms the model range.
Top fixing should not be presented as universally compatible. The project must still confirm the hole diameter, deck-thickness range, substrate strength, base footprint, anchor movement, hose routing, and tool clearance.
4. Confirm These Dimensions Before Ordering
Dimensions should be verified against the real sink, countertop, cabinet, and supply layout—not only the architectural drawing.
| Item | Required information | Project risk if incorrect |
|---|---|---|
| Mounting hole | Minimum, maximum and target diameter | Faucet or mounting hardware cannot pass through or clamp correctly |
| Deck thickness | Approved minimum and maximum | Insufficient engagement or unstable mounting |
| Base footprint | Diameter, gasket area and shape | Opening remains visible or base conflicts with sink rim |
| Overall height | Faucet height above the finished deck | Conflict with cabinets, shelves or windows |
| Spout reach | Horizontal projection to water outlet | Water lands too close to the bowl edge |
| Spout height | Outlet height above the sink | Insufficient vessel clearance or excessive splash |
| Handle clearance | Rear and side movement | Handle contacts backsplash or wall |
| Hose length | Overall and usable length | Hose strain or inability to reach supply stops |
| Connection | Thread, inlet size and adapter | Site connection does not match the product |
| Mounting access | Tool and anchor clearance | Top-fixing mechanism cannot be operated |
The project team should approve these values in a controlled drawing. If site dimensions change, the team should reassess compatibility before continuing procurement.
That discipline is one of the most effective ways to prevent apartment faucet installation rework.
5. Build and Approve a Representative Mock-Up
A mock-up is not simply a visual sample. It is a controlled installation trial using representative project conditions.
The mock-up should include:
- The actual sink or basin model.
- The actual countertop material and thickness.
- A representative cabinet.
- The proposed faucet and complete mounting kit.
- Project supply stops and connectors.
- The intended trap, drawer, shelf, or disposal arrangement.
- The normal installer tools.
- The proposed inspection checklist.
During the trial, record preparation time, fastening time, connection time, commissioning time, defects, and rework separately.
Do not test a top fixed faucet on an open demonstration board and assume the same result will apply inside a completed apartment cabinet. The mock-up should reproduce the constraints found on site.
The approved assembly becomes the project reference. Photograph the final hose routing, handle orientation, base position, mounting components, and connection arrangement. Record the approved model and revision number.
6. Standardize the Installation Kit
Incomplete or inconsistent accessory kits create avoidable delays.
Each project faucet package should contain the same controlled components:
- Faucet body.
- Model-specific gasket.
- Top-fixing collar or anchor.
- Stabilizing plate where required.
- Correct fastener.
- Hot and cold supply hoses.
- Market-specific connectors or adapters.
- Installation tool where applicable.
- Installation instructions.
- Product and batch identification.
Accessories should match the approved sample and bill of materials. An alternative gasket or mounting nut may appear minor but can change clamping force, deck coverage, or installation sequence.
Packaging should also make identification easy. When kitchen, basin, and finish variants are delivered to the same building, use clear carton labels and internal component identification to reduce mixed installation.
This is particularly important for bulk apartment faucet installation, where a packaging error can be repeated before the project team identifies the pattern.
7. Use a Controlled Installation Method
The detailed sequence depends on the model, but a practical project method contains the following stages.
Step 1: Inspect the Work Area
Confirm the model, finish, countertop opening, deck condition, cabinet clearance, and water-supply position.
Do not install onto a cracked, unsupported, heavily uneven, or unapproved deck.
Step 2: Check the Complete Kit
Compare the delivered components with the approved packing list and sample. Isolate products with missing, damaged, or substituted parts.
Step 3: Route Hoses Carefully
Avoid twists, sharp bends, abrasion, and contact with drawer runners or sharp cabinet edges.
Step 4: Seat and Align the Faucet
Position the gasket evenly. Check the spout direction and handle clearance before tightening.
Step 5: Apply the Approved Fixing Method
Use the manufacturer’s specified sequence and tool. Do not assume that “quick install” means “tool-free.”
Avoid excessive tightening, especially on stone, ceramic, glass, composite, or thin stainless-steel decks.
Step 6: Connect the Water Supplies
Confirm hot and cold orientation, thread compatibility, hose support, and local plumbing requirements.
Step 7: Flush and Commission
Flush debris according to the approved method. Operate the handle and spout, then check every joint under static and flowing conditions.
Step 8: Record the Result
Mark the unit as accepted or create a traceable exception report.
Moving fastening work above the deck may reduce some awkward positioning. NIOSH explains that sustained or awkward postures are workplace ergonomic risk factors and recommends fitting work tasks and equipment to workers’ capabilities. This supports evaluating the complete task rather than making an unsupported labor claim. NIOSH ergonomics guidance.
8. Create a Practical Inspection and Sampling Plan
Inspecting only the first unit is insufficient. Inspecting every characteristic in every unit may be inefficient.
A risk-based plan can include:
First-Article Inspection
Perform a detailed inspection of the first completed installation for each layout, faucet model, countertop type, and installer team.
Start-of-Shift Checks
Verify model, finish, kit completeness, deck condition, and connector type before work begins.
In-Process Sampling
Check alignment, stability, hose routing, and connection quality at an agreed frequency. Increase the inspection rate when a defect or component change appears.
Final Commissioning
Test operation and inspect for leakage under the agreed conditions. The project should define pressure, duration, flowing or static condition, and acceptance criteria.
Traceability
Record the building, floor, apartment, room, model, batch, installer, inspection result, and corrective action where required.
Applicable product standards should be confirmed for the destination market. ASME identifies its A112.18.1/CSA B125.1 standard as covering kitchen, sink, lavatory, and other plumbing supply fittings. Compliance should be verified for the exact model rather than inferred from a company-level certificate. ASME standard information.
9. Control the Most Common Rework Points
| Rework problem | Likely cause | Preventive control |
|---|---|---|
| Faucet rotates after installation | Uneven deck, insufficient engagement, missing stabilizer | Verify deck and mounting components during mock-up |
| Water collects around the base | Poor gasket seating, damaged seal or uneven surface | Inspect gasket position before tightening |
| Faucet is misaligned | Orientation not checked before final tightening | Use a visual alignment reference |
| Handle hits backsplash | Clearance omitted from drawing review | Test full handle movement on mock-up |
| Hose cannot reach the stop | Incorrect length or supply location | Approve hose length against actual cabinet |
| Hose rubs a drawer | Routing not included in installation standard | Photograph and inspect approved routing |
| Connection leaks | Wrong thread, damaged seal or poor assembly | Confirm connectors and commission every installation |
| Countertop is damaged | Excessive tightening or poor support | Define fixing method and substrate limits |
| Wrong finish is installed | Mixed cartons or unclear labels | Use model and finish identification at issue point |
| Parts are missing | Incomplete accessory packing | Conduct kit verification before installation |
A good corrective-action process should contain the immediate correction, affected-unit range, root cause, containment action, and prevention measure.
Fixing one unit without checking whether the same condition exists elsewhere leaves the project exposed.
10. Compare Total Installed Cost, Not Faucet Price Alone
A lower unit price does not always produce a lower project cost.
The total installed cost can include:
- Product price.
- Freight and site handling.
- Installation labor.
- Special tools.
- Supervision.
- Inspection.
- Damaged countertops or cabinets.
- Replacement accessories.
- Repeated site visits.
- Delayed room handover.
- Warranty service and spare parts.
For a valid comparison, install the candidate products under the same conditions. Use the same sink, countertop, cabinet, supply arrangement, installer skill level, and acceptance checklist.
A top fixed faucet may reduce fastening difficulty while offering no advantage in another stage. The trial should show where the time changes instead of reducing the result to a marketing percentage.
11. Choose AQ Bath Models as a Controlled Shortlist
AQ Bath’s published top-fixed range can support different apartment applications.
| Model | Public positioning | Potential project use | Confirm before selection |
|---|---|---|---|
| A0060-1-3 | Top Fixed Kitchen Faucet | Standard apartment kitchens | Dimensions, material, cartridge, flow, finish and mounting range |
| A0060-1-1 | Top Fixed Kitchen Faucet with Pull-Down Sprayer | Kitchens needing extended sink coverage | Product copy, sprayer configuration, hose retraction and clearance |
| A0060-1-4 | Easy-to-Install Kitchen Faucet | Standardized new-build or renovation packages | Full configuration, dimensions and compliance |
| A0061-1 | Quick-Installation Basin Faucet | Apartment bathrooms and standard washbasins | Hole, deck range, hose, aerator, cartridge and finish |
| A0060-01-01 | Tall Single-Handle Kitchen Faucet | Deep sinks and larger vessels | Height, reach, rotation, flow and mounting method |
Public titles should not replace a controlled specification sheet. The research material flags the A0060-1-1 page for inconsistent body copy, so buyers should obtain current product documentation before using detailed claims.
For every selected model, request a drawing, installation instructions, bill of materials or component specification, test plan, certificate matrix, packaging standard, and approved sample.
12. Send a Complete Project RFQ
A project RFQ should give the supplier enough information to evaluate compatibility and quote comparable products.
Include:
- Destination country and required standards.
- Apartment type and total unit quantity.
- Kitchen and bathroom quantities by layout.
- Sink or basin drawings.
- Countertop material and thickness.
- Mounting-hole diameter.
- Cabinet and backsplash constraints.
- Required faucet height, reach, rotation, and flow.
- Hose length and connection type.
- Finish and approved color sample.
- Installation-kit requirements.
- Packaging and labeling.
- Inspection and test requirements.
- Spare-parts quantity.
- Sample, pilot, production, and delivery dates.
- Required certificates and reports.
- Change-control process.
The supplier should identify assumptions, exclusions, unconfirmed parameters, and model-specific certificate coverage.
This prevents quotations based on different hidden specifications.
13. Frequently Asked Questions
1. What is the biggest risk in apartment faucet installation?
The biggest risk is repeating an unverified condition across many units. A small incompatibility involving the hole, deck, connector, or mounting kit can become a project-wide defect.
2. Does a top-fixed faucet eliminate all under-sink work?
No. The primary fastening may be completed mainly from above, but supply hoses still normally require below-deck connection and inspection.
3. Is a top-fixed faucet always faster to install?
Not necessarily. It can simplify fastening where underside access is restricted, but total time also includes preparation, connection, flushing, inspection, and documentation.
4. Can one mock-up represent every apartment?
Only when the layouts, countertops, sinks, cabinets, and connections are the same. Each materially different configuration should receive its own verification.
5. What countertop information must be provided?
Provide the material, finished thickness, mounting-hole diameter, flatness or support conditions, sink-rim position, backsplash clearance, and any reinforcement.
6. Does “quick install” mean no tools are needed?
No universal conclusion should be made. Some models use a supplied top-access tool or normal hand tool. Follow the controlled installation instructions for the exact SKU.
7. How should installation labor savings be measured?
Use a controlled trial with identical site conditions. Record preparation, fastening, water connection, commissioning, and rework separately.
8. How often should completed units be inspected?
The frequency should reflect project risk, installer experience, defect history, layout changes, and contract requirements. First-article and final leakage checks should be clearly defined.
9. Are all AQ Bath top-fixed models certified for every market?
Do not assume so. Request the certificate number, holder, covered-model list, destination market, issue date, and validity for the exact product.
10. What should be approved before bulk installation begins?
Approve the controlled drawing, golden sample, mounting kit, finish, connectors, packaging, work instruction, inspection plan, test conditions, spare parts, and change-control process.
Conclusion
Reliable apartment faucet installation depends on process control rather than a single product claim.
Top-fixed mounting can make the fastening stage more accessible, especially where deep sinks and completed cabinets restrict underside access. Its value becomes measurable only when the project also controls dimensions, accessory kits, hose routing, installation instructions, inspection, traceability, and engineering changes.
Before releasing a faucet for hundreds of apartments, install it on a representative mock-up. Measure the complete process, record defects, approve the final assembly, and convert that result into a repeatable site standard.
For an AQ Bath project shortlist, provide the sink drawing, mounting-hole diameter, deck thickness, cabinet constraints, required finish, destination market, quantity, and certification requirements. Request model-specific drawings, samples, installation instructions, and evidence before confirming the bulk order.